Using Upbound to roll out Cluster-as-a-Service to your developers

Provisioning infrastructure should never be seen as a barrier to developer velocity. In fact, platform teams often seek to deploy Kubernetes Clusters-as-a-Service to provide developers with a streamlined and efficient environment for deploying and managing their applications. One significant advantage of offering Cluster-as-a-Service is the abstraction of complex infrastructure management. Upbound makes Cluster-as-a-Service–and many other self-service deployments of cloud-native infrastructure and applications–easy for developers and manageable for the platform team. Let’s explore why it’s essential for any platform team and how it’s done!
Complexity is the enemy of developer velocity
When dealing with complexity, abstractions are super important. A good abstraction will allow ease-of-use while still providing control over the complexity that lies underneath the surface. In the case of Cluster-as-a-Service, developers can focus on writing code and building applications without the need to worry about the underlying cluster setup, scaling, or maintenance. This abstraction reduces the learning curve for developers, allowing them to quickly leverage the power of Kubernetes for container orchestration without becoming Kubernetes experts.
Furthermore, enabling Clusters-as-a-Service offers scalability and resource optimization. Platform teams can configure and manage the clusters to suit the specific needs of different applications and services, ensuring optimal resource utilization. Developers can request and provision Kubernetes clusters on-demand, which leads to more efficient resource allocation, reducing costs, and minimizing infrastructure waste. By standardizing the deployment process with Upbound, platform teams can also enforce best practices, security policies, and compliance standards across all applications, enhancing the overall stability and security of the platform. In short, Clusters-as-a-Service, when done correctly, means faster development cycles and more reliable applications.
Control planes offer the best of both worlds
Upbound started the Crossplane project and now also offers the Upbound platform to solve this very problem. By using control planes, developers get a simple API to interact with based on the configurations and definitions that the platform team specify and maintain. Since these configurations can be reconciled when changes are made, the platform team can obfuscate all the gory details while reducing configuration drift and tickets for failed deployments.
Let's try it!
Let’s say you are a member of a platform team. One of your goals is to improve the speed and reliability of infrastructure deployments by offering a self-service option for your developers. Perhaps you have the following requirements:
- Create an API for fast, easy deployment
- Multiple deployment options (different cloud providers, regions, business units, etc.)
- Changes must be easily reconciled
- Control of every aspect behind the scenes
- No scripts since they cause configuration drift!
We will use the Upbound platform to get everything set up in just a few minutes. If you are following along, you will first need to sign up for a free trial or use an existing Upbound account. If you are signing up for a free trial, you can follow this detailed Quickstart Guide if needed. You’ll need to create an organization and add your GitHub credentials at some point. If you’re a returning user, you can get started by heading over to the Configurations section of Console and hit "create new control plane".

You can fill out a few details to clone the example configuration into your Upbound account so you can use it. As part of this process, Upbound automatically creates a Git repository in GitHub on your behalf. After Upbound creates your repository, it watches for new commits to the main branch. For every commit, Upbound automatically attempts to build the Configuration package for you. If it’s successful, you can then upgrade the definition on your managed control planes.

After a few seconds the configuration will be cloned and a window will appear prompting you to create a new control plane to install this configuration onto.

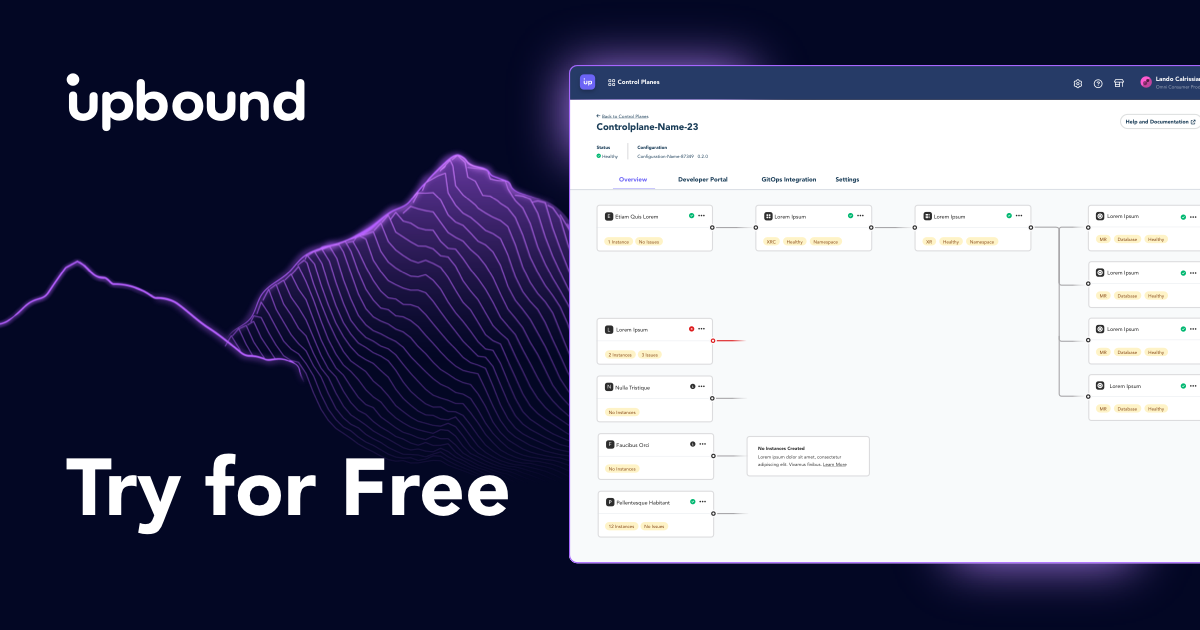
That’s it! Sit back and watch as your new control plane and APIs are configured. You can review the information about the control plane that you just created.

The control plane will take only 5 - 10 minutes to provision. While you are waiting, be sure to check out the documentation to learn more about control planes and how to interact with them.

After a few minutes, your control plane with the example configuration will be ready to use without writing a single script. As you can see, we now have Cluster-as-a-Service APIs created for AWS, Azure, and GCP.

Of course, before you can start rolling out infrastructure you need to configure access to whichever cloud provider you will be using. To do that, click on the Providers tab, choose one of the cloud providers and create a ProviderConfig. This will be different for each cloud service so we have put together some documentation that covers the process.

The next step would be to enable these APIs to be used in whatever developer frontend you are using. This could be Backstage, Port, or anything else. Just as an example, you could click on “Self Service” and choose Control Plane Portal.

Click on one of the APIs on the left of the screen and then click the “Create New” button. This will bring up all the required fields that were defined in this example that are necessary to deploy a new cluster. However, outside of this demonstration, this could be whatever you require. For example: namespace, region, number of required nodes, instance size, etc. The beauty of a control plane is that it can be defined however you need it to be. You are not locked into someone else's vision for how things should work.

We will stop here as we have met all the objectives so far:
- Setup an API for fast, easy deployment
- Multiple deployment options (different cloud providers, regions, business units, etc.)
- Changes must be easily reconciled
- Control of every aspect behind the scenes
- No scripts since they cause configuration drift!
However, there is so much more you can do with Upbound and control planes. For a more complete look at setting up an internal developer platform in your organization be sure to check out this blog. Don’t forget that you can try this for free right now for 30 days and be sure to contact us with any questions you might have.